|


 Back to Main Page Back to Main Page

|
I had a couple of reasons to build a bumper for my Jeep. For starters, the old factory bumper shell was getting pretty beat up from brushing against rocks. Also, I had trimmed away a fair amount from around the tires, which had left it looking a little unfinished around the edges. Most importantly though, the shell just wasn't functional and the bumper underneath wouldn't hold a winch. Plus, with Grand Slam West coming up, I really wanted to have some armor up front before doing any of the more difficult trails in Moab. Since most aftermarket ZJ bumpers retail around $600, I figured I could save a few bucks doing it myself.
|
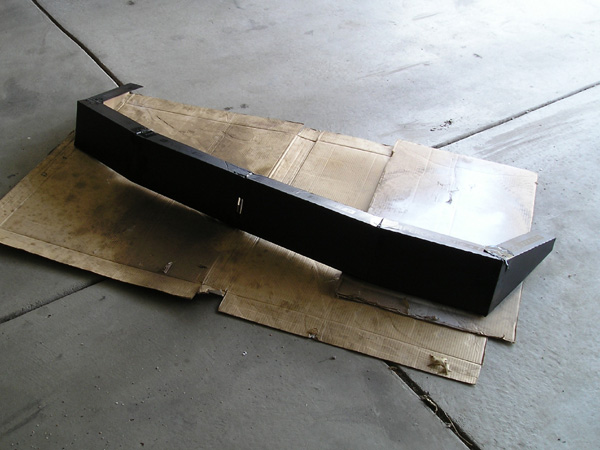
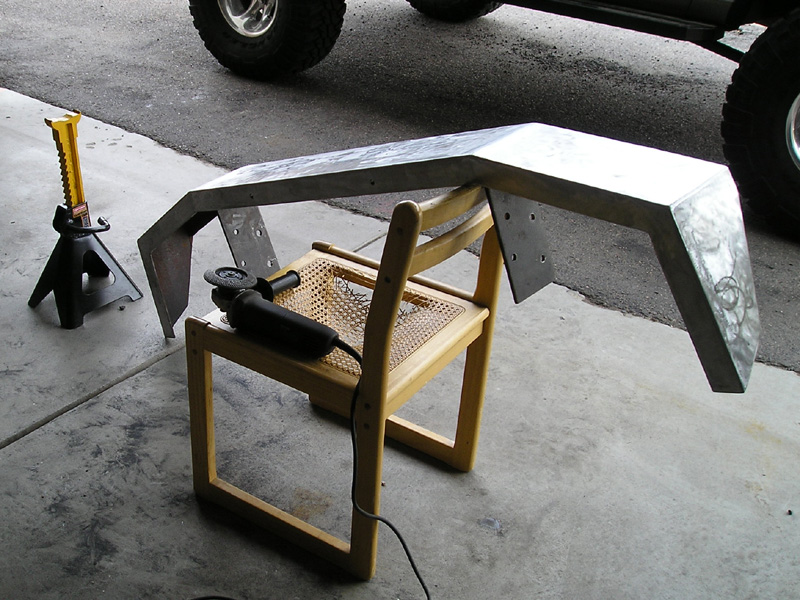
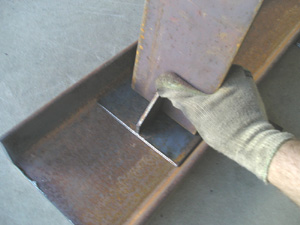
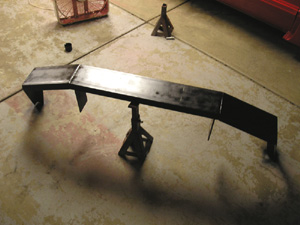
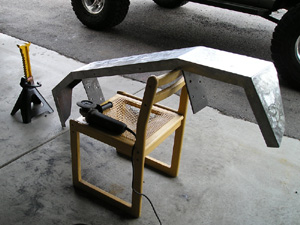
 I started by removing the plastic bumper shell and taking some careful measurements. Originally I was going to have the bumper house the winch, but I decided to keep the bumper close to the front and just put in a hitch receiver to accomodate a detachable winch mount. This way the winch can be used from the rear of the vehicle as well as the front, and I maintain a good forward approach angle. After doing a number of different sketches and consulting with friends who have made their own bumpers, I came up with a simple design using channel steel. Before going to the shop though, I made up a mock bumper out of cardboard and painted it black. I figured making mistakes with old boxes would be cheaper than experimenting with steel. Here are a few pics of the mock-up:
|
 
|
|
The next stop was the steel yard. I went to K&K Supply in Commerce City and found an 8' remnant of 7" channel and some scraps for brackets. They had a chop saw on site and did some of the first cuts for me. Total cost for the steel and cuts: $60! I then spent the next several evenings after work cutting and grinding everything to fit.
|
|
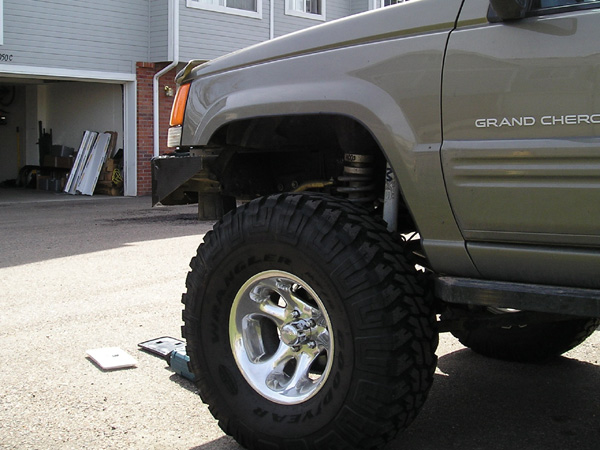
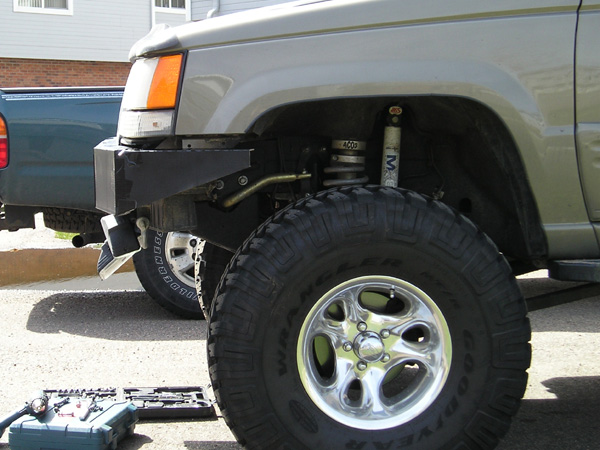
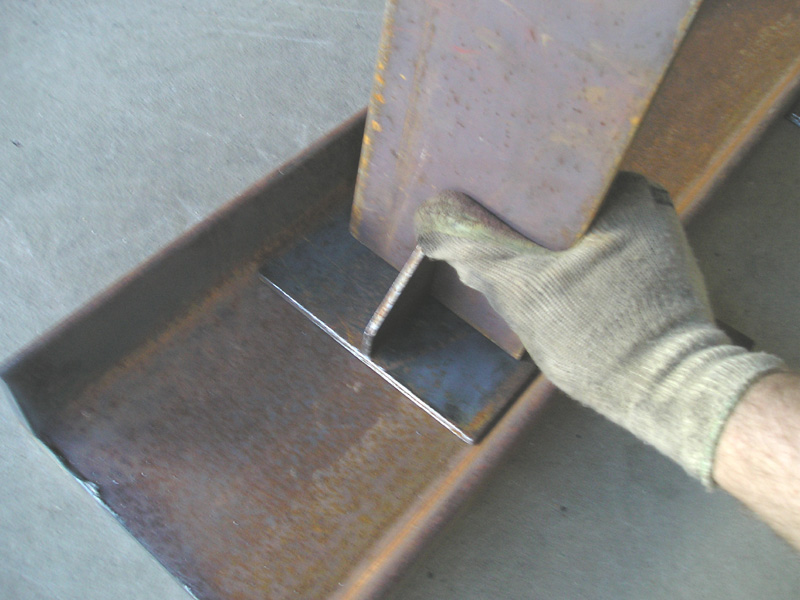
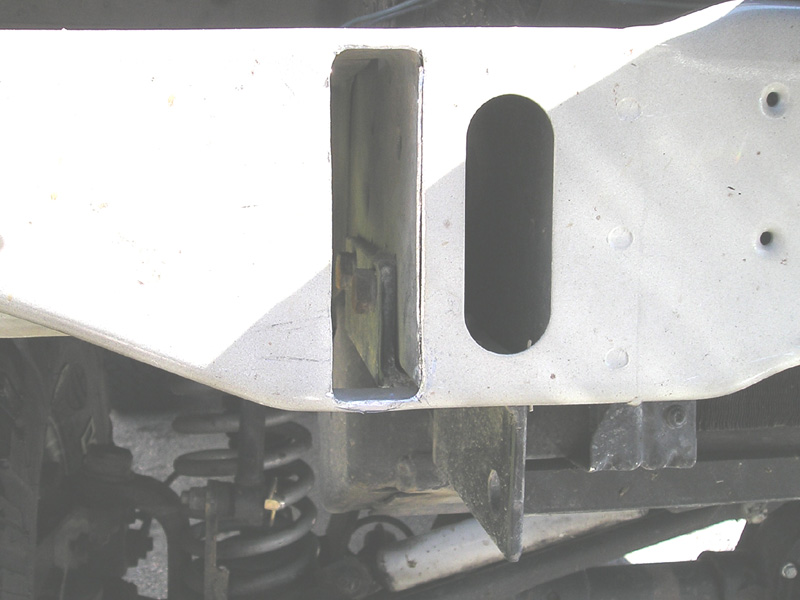
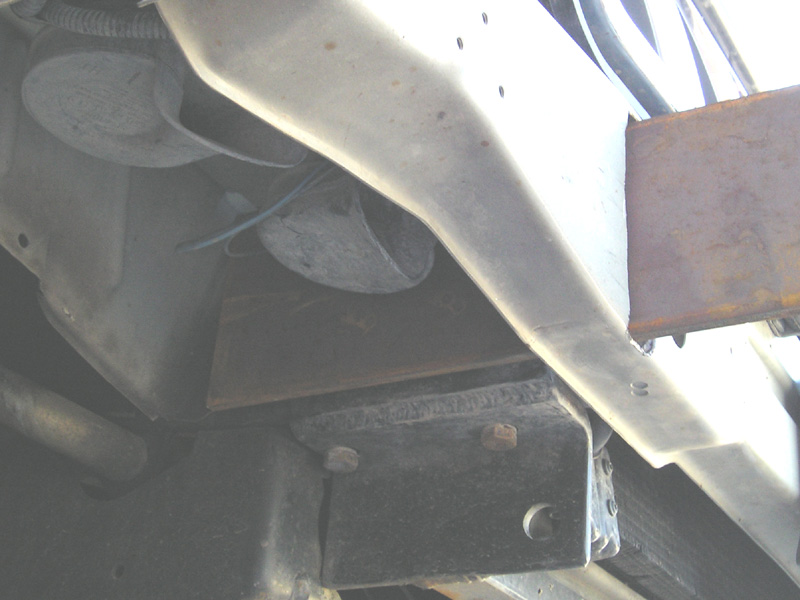
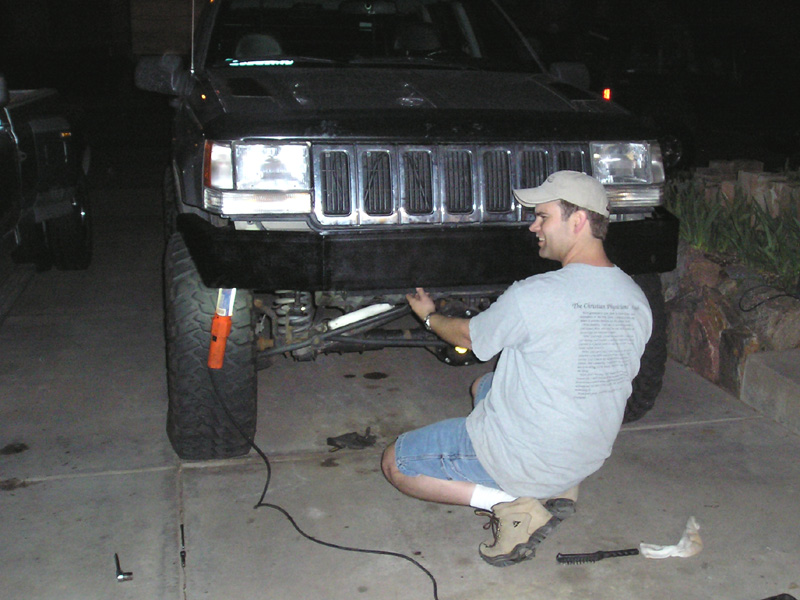
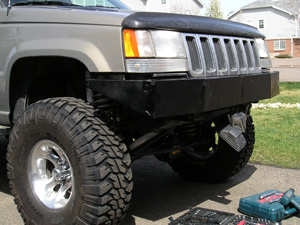
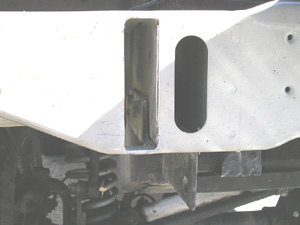
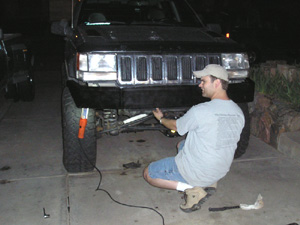
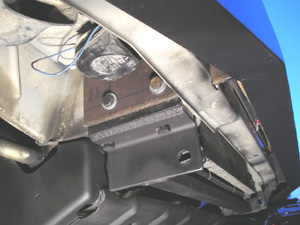
After settling on a bumper design, I then focused on figuring out how to attach it to the front of my ZJ. Mounting the bumper is undoubtedly one of the most important considerations when doing this kind of fabrication. After all, it has to be strong enough to withstand an impact from another vehicle, a rock, or other obstacle. In addition, it also has to be sturdy enough to hold up during the operation of a winch. With a little help from some friends, we came up with the gusset-reinforced setup pictured above on the right. However, the placement of the brackets wasn't immediately apparent when inspecting underneath the front of the vehicle. Initial plans called for using the outer pinch seams under the front fenders as the primary bracket mount sites. I ran this idea by a fellow ZJ enthusiast fabricating his own bumper, and he sent me some pics of his project. I noticed that he had been able to use the frame rails, which certainly are a stronger foundation for a steel bumper that might actually see some use. Since I was shooting more for functional armor rather than just another "crumple zone", I decided to do the same. Tempted as I was to remove the whole factory bumper, I left most of it intact and just cut slots for the mounting brackets to go through.
|
|
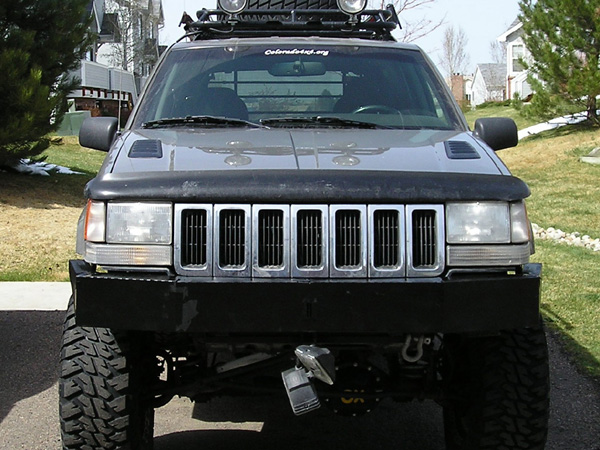
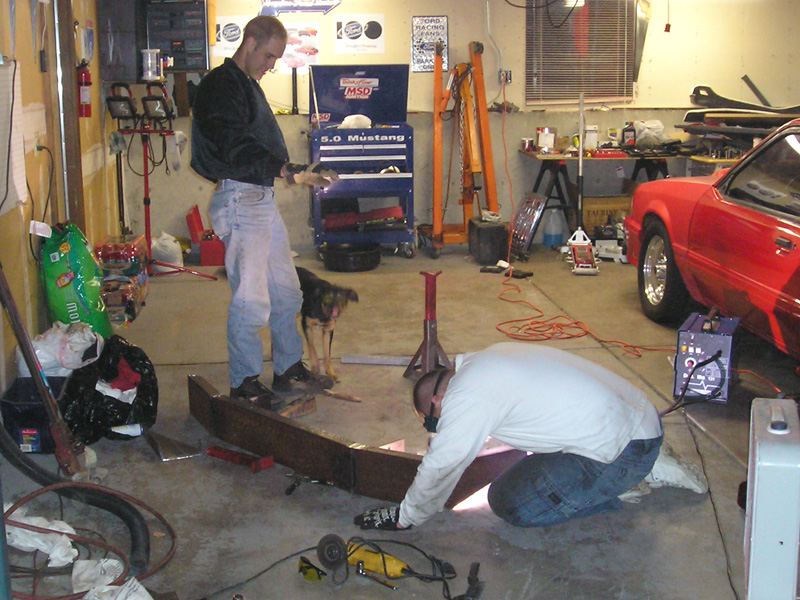
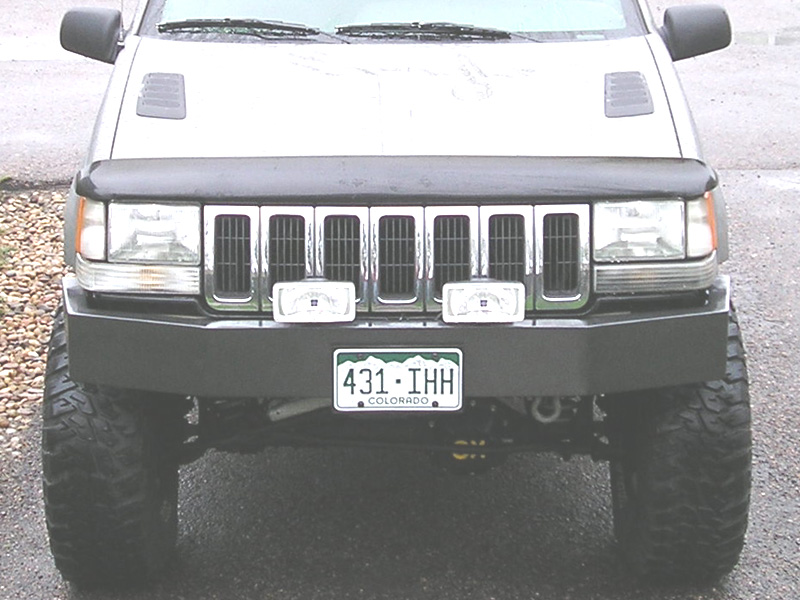
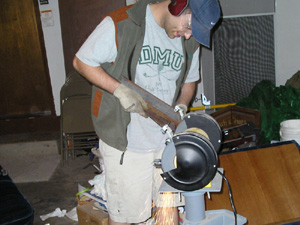
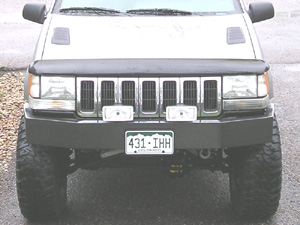
Once everything was prepped, I met up with a couple of wheeling buddies to put it all together. A few hours, two pizzas, and several Mountain Dews later, all the pieces had been welded and I had one solid steel bumper! After smoothing down the seams with a grinder, it was ready for its first coat of paint (at some point I may have it powdercoated, but Rustoleum works for now).
|
|
 
|
|
With the bumper and brackets welded together, I still needed to make some minor adjustments which included putting in a shim to center the bumper. After playing around with it for a day or so though, it really looked good. Unfortunately I had a brief safety lapse, and I ended up making a little trip to the local emergency department for some stitch work after the 4 1/2" grinder caught on a jagged edge and flew back at me. It did about 7 revolutions on my hand after going through my glove (based on the number of linear scrapes) before catching my knee on the way to the ground. The large rip in my pant leg portended a significant injury. . .sure enough, after rolling it up, I discovered a gaping wound in my leg down to the muscle (see before and after pics). As bad as it was, it could have been a lot worse. Yikes!
|
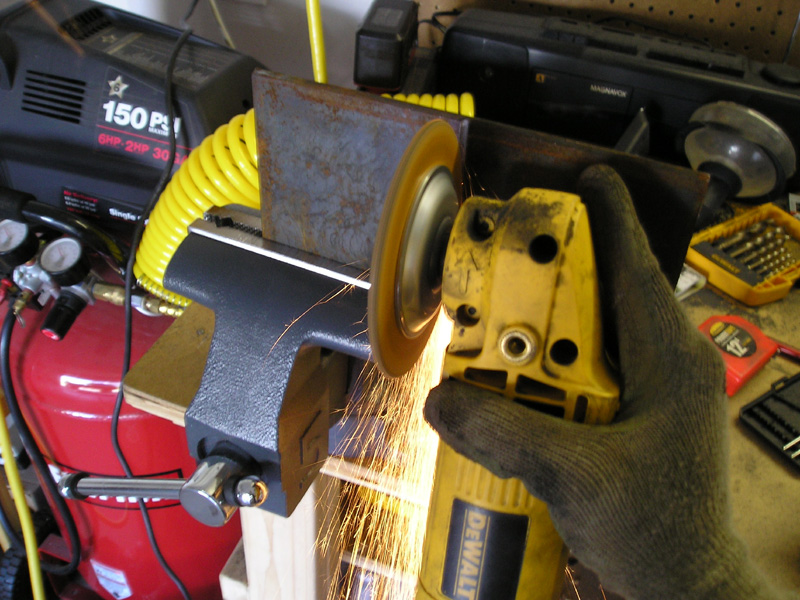
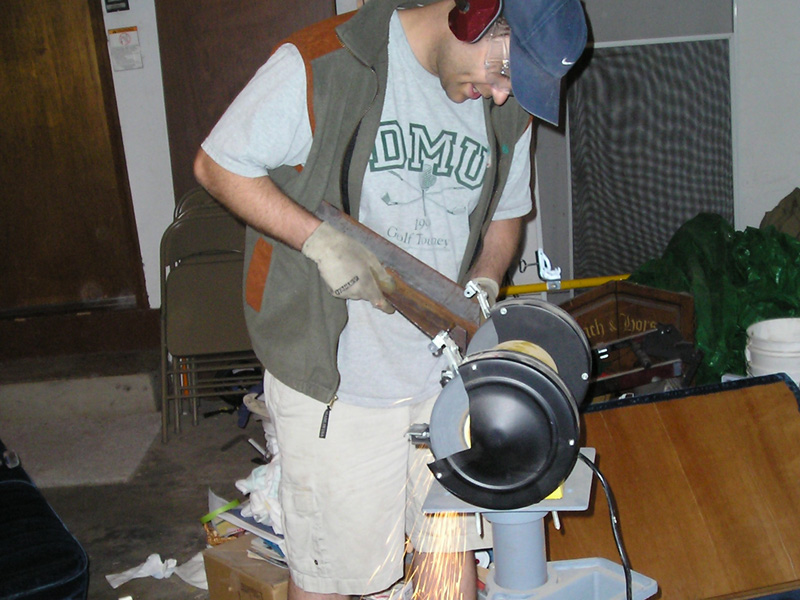
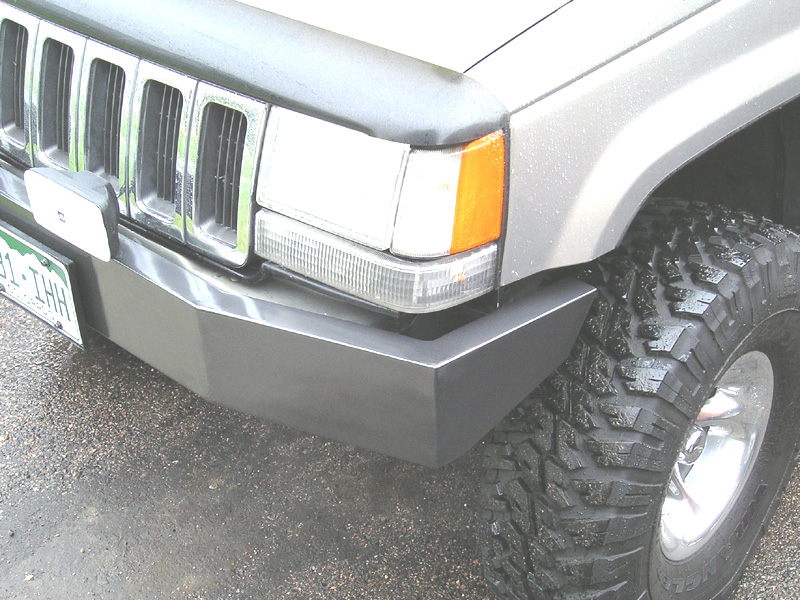
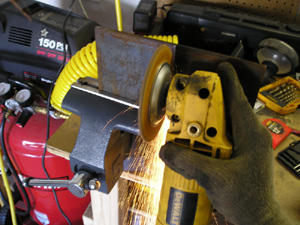
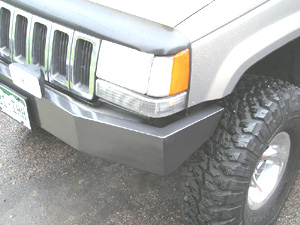
 Since my little mishap, there has been plenty to do to make the bumper look more finished. For starters, one of the sides stuck out a bit more than the other, so I had to do some cutting (now with a handle and guard being properly utilized, ah-HEHM!) and bending to make it symmetric. Also, the edges looked a bit sharp to me, and the original stick of channel had some pretty deep groves in it. After grinding down the welds, I used some flap disks to round the corners a bit and smooth out the flat exposed surfaces. It is looking a lot better now, though it is still somewhat bumpy. Eventually I'll take a sander to it, but I'm content to leave it the way it is for the time being. Since my little mishap, there has been plenty to do to make the bumper look more finished. For starters, one of the sides stuck out a bit more than the other, so I had to do some cutting (now with a handle and guard being properly utilized, ah-HEHM!) and bending to make it symmetric. Also, the edges looked a bit sharp to me, and the original stick of channel had some pretty deep groves in it. After grinding down the welds, I used some flap disks to round the corners a bit and smooth out the flat exposed surfaces. It is looking a lot better now, though it is still somewhat bumpy. Eventually I'll take a sander to it, but I'm content to leave it the way it is for the time being.
|
|
|
The project is ongoing. I was going to make some brackets and have a couple of clevises on the front of the bumper, but I think I'll just continue to use the mounts on the Kevin's heavy-duty radiator support, as they are working just fine. At some point though, I'll make a hole for a hitch receiver so that I can mount either a 10,500 or 12,000 lbs hydraulic MileMarker Winch. I should have the funds to do this sometime later this year, probably in the fall. Hopefully not too long after that I'll also acquire a Pull-Pal for when I'm doing self-recovery and there aren't any trees around to anchor to.
|
Back to Main Page
|
|